You Are Here: Investigations

Integrate academic conversations into science time with these notebook-enhanced talk strategies.
Below, you'll find guidance related to using talk strategies with notebooks, including:
Because we know teachers appreciate seeing the results of using these strategies, we've also created a gallery of examples.
The notebook serves well as a focal center during student-to-student talk. The notebook becomes a conversation starter when students use what they’ve already recorded as a jumping-off point for sharing.
Alternatively, the notebook can enhance listening and accountability when students use it to record what they hear from their partners. Below are examples of both types of strategies.
1. Mingle-Mingle with 3-2-1
This strategy lets each student share written reflections with a partner. Give students a chance to reflect through a 3-2-1. For example, "Write down 3 things you noticed during the investigation, 2 questions you still have, and 1 general rule you think you discovered." After giving students a chance to reflect and write on their own, invite them to a "mingle-mingle". Each time you give a signal, students mingle around the room to find a new sharing partner. Using their writing as a reference, they share with a different partner for each section of the reflection (the 3, the 2, and the 1).
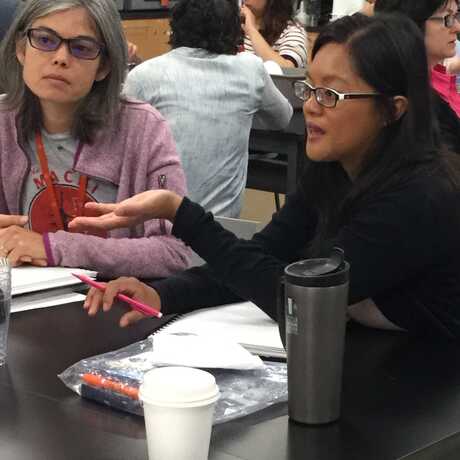
2. Conversation Chips
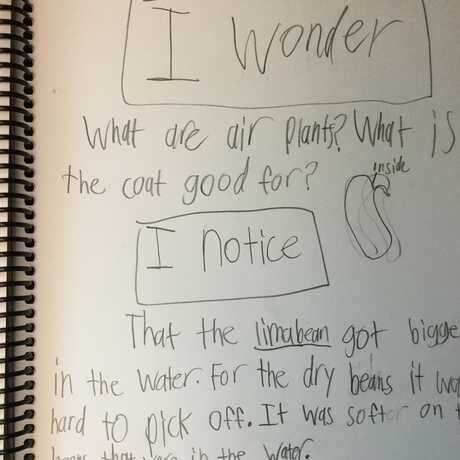
Use this strategy to promote equity of participation in discussions. Give students a chance to write down their ideas first in their notebooks. An example prompt might be, "what do you notice about ______ and what do you wonder about it?" This writing will be the jumping-off point for a small-group discussion.
Place a small dish in the middle of each group with tokens in it [guitar pics, game pieces, poker chips, etc]. Instruct each student to take a set number of tokens as theirs – 3 is a good number. Tell students that each time they share an idea from their notebook, they will place one of their tokens in the dish. Adding onto or disagreeing with someone else’s idea also requires a token. They can engage in the conversation however they want, and in any order. Once a student is out of tokens, s/he can no longer speak. Remind students that they may encounter silence while they are waiting for students who still have tokens to contribute. That’s fine! Embrace the silence and be prepared to be active listeners.

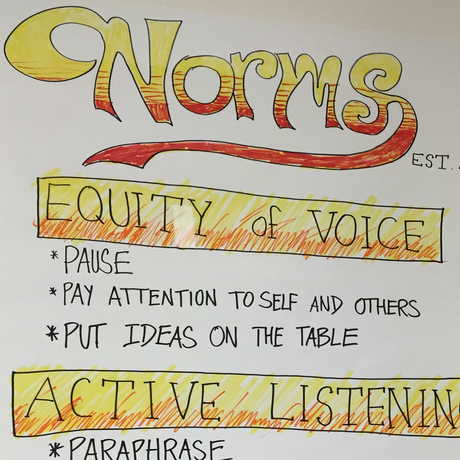
3. Dialogue Stems
Have students reserve one page of the notebook for dialogue stems. Each time you introduce a new set of stems, have them paste the stems in the notebook and label according to their use, e.g. "Stems for Respectfully Disagreeing" or "Stems for Paraphrasing."
By the end of the year, they will have collected several categories of stems which they can take advantage of during academic discussions.
4. Think-Pair-Share with Writing
Adding a written component to this common strategy can increase accountability. A graphic organizer of three boxes will help.
Students write their own thoughts in the first box during the "think" period. After the "pair-share" period, they write down what their partner said in the second box. Finally, they record in the third box how the conversation has changed or confirmed their initial ideas.
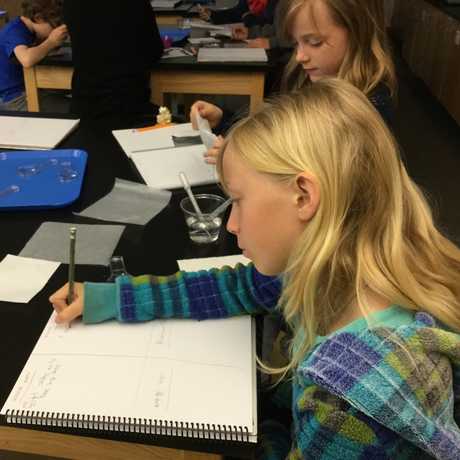
Diane wanted to help her quieter students speak during small group discussions. Her lesson focused on the question: "What happens when water falls on different surfaces?"
First, she gave students a chance to quietly observe the four surfaces they would be testing – tinfoil, wax paper, paper towel, and notebook paper. They recorded their observations in their notebooks under two columns: "I notice" and "I predict."
Then, she introduced Conversation Chips. She told the students to each take 3 chips. They could share with their small groups: what did you notice about the 4 materials? What do you think will happen when we drop water onto each surface? Each time a student shared, he dropped a chip into the dish in the middle of the table. Diane warned the students: "There may be silence while you’re waiting for someone who has a chip to talk. That’s fine. Just be patient." If students couldn’t think of what to say, they could look down at their notebook for an idea.
After the hands-on experiment, Diane repeated the Conversation Chips strategy. This time, students discussed their conclusions about the focus question: "What happens when water falls on different surfaces?" They referred to the data they’d collected during the investigation. The conversations flowed naturally, as students could respond to each other and build on each other’s ideas, cashing in a chip with each contribution.
Diane reflects afterward: "Many of my students who usually get steamrolled had a chance to speak. They liked it. They were able to hold the floor." She’s glad she used Conversation Chips twice in one lesson; students had a chance to get used to the protocol. She plans on using Conversation Chips routinely now, and not just in science!
Learn how to establish and maintain a positive classroom culture for science learning.
The materials are put away, the data is organized, the graphs have been made… now what do you do?
Learn how notebooks can help your students think and act like scientists.